: level 12 → level 13
http://natas13.natas.labs.overthewire.org

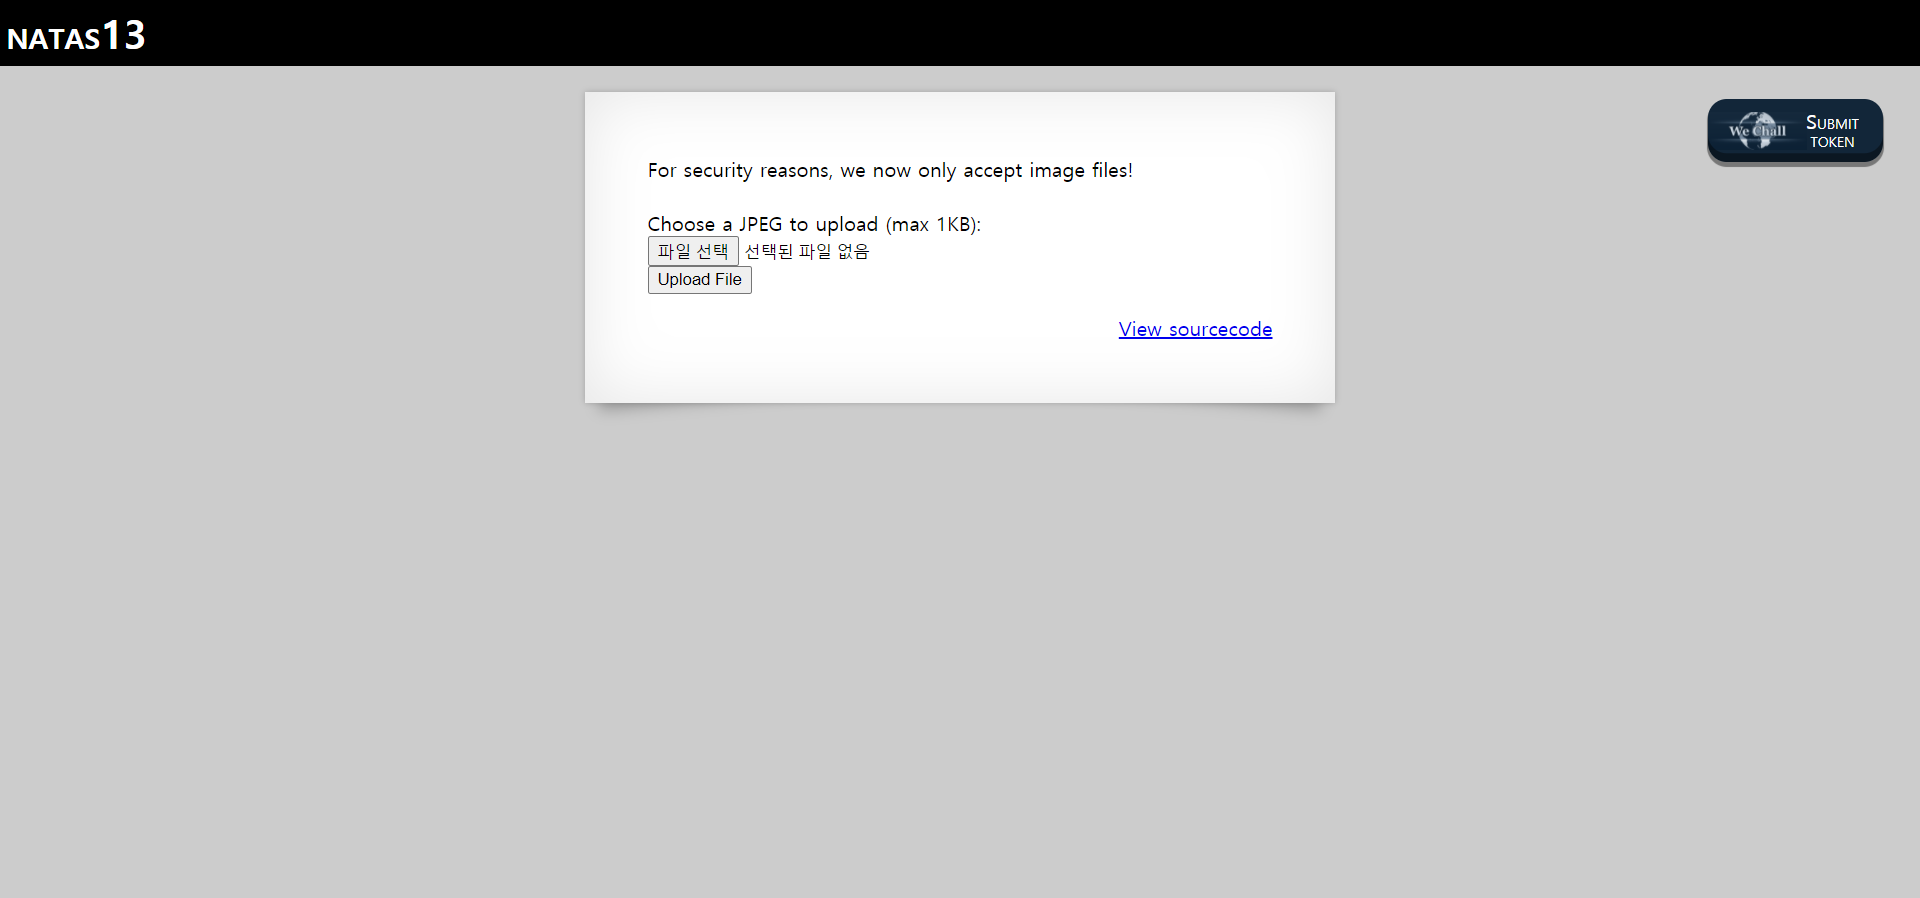
natas13 메인 페이지다. 이번에도 파일 선택 기능이 있다.
소스코드를 확인해보자.
<html>
<head>
<!-- This stuff in the header has nothing to do with the level -->
<link rel="stylesheet" type="text/css" href="http://natas.labs.overthewire.org/css/level.css">
<link rel="stylesheet" href="http://natas.labs.overthewire.org/css/jquery-ui.css" />
<link rel="stylesheet" href="http://natas.labs.overthewire.org/css/wechall.css" />
<script src="http://natas.labs.overthewire.org/js/jquery-1.9.1.js"></script>
<script src="http://natas.labs.overthewire.org/js/jquery-ui.js"></script>
<script src=http://natas.labs.overthewire.org/js/wechall-data.js></script><script src="http://natas.labs.overthewire.org/js/wechall.js"></script>
<script>var wechallinfo = { "level": "natas13", "pass": "<censored>" };</script></head>
<body>
<h1>natas13</h1>
<div id="content">
For security reasons, we now only accept image files!<br/><br/>

<?

function genRandomString() {
    $length = 10;
    $characters = "0123456789abcdefghijklmnopqrstuvwxyz";
    $string = "";

    for ($p = 0; $p < $length; $p++) {
        $string .= $characters[mt_rand(0, strlen($characters)-1)];
    }

    return $string;
}

function makeRandomPath($dir, $ext) {
    do {
    $path = $dir."/".genRandomString().".".$ext;
    } while(file_exists($path));
    return $path;
}

function makeRandomPathFromFilename($dir, $fn) {
    $ext = pathinfo($fn, PATHINFO_EXTENSION);
    return makeRandomPath($dir, $ext);
}

if(array_key_exists("filename", $_POST)) {
    $target_path = makeRandomPathFromFilename("upload", $_POST["filename"]);

    $err=$_FILES['uploadedfile']['error'];
    if($err){
        if($err === 2){
            echo "The uploaded file exceeds MAX_FILE_SIZE";
        } else{
            echo "Something went wrong :/";
        }
    } else if(filesize($_FILES['uploadedfile']['tmp_name']) > 1000) {
        echo "File is too big";
    } else if (! exif_imagetype($_FILES['uploadedfile']['tmp_name'])) {
        echo "File is not an image";
    } else {
        if(move_uploaded_file($_FILES['uploadedfile']['tmp_name'], $target_path)) {
            echo "The file <a href=\"$target_path\">$target_path</a> has been uploaded";
        } else{
            echo "There was an error uploading the file, please try again!";
        }
    }
} else {
?>

<form enctype="multipart/form-data" action="index.php" method="POST">
<input type="hidden" name="MAX_FILE_SIZE" value="1000" />
<input type="hidden" name="filename" value="<? print genRandomString(); ?>.jpg" />
Choose a JPEG to upload (max 1KB):<br/>
<input name="uploadedfile" type="file" /><br />
<input type="submit" value="Upload File" />
</form>
<? } ?>
<div id="viewsource"><a href="index-source.html">View sourcecode</a></div>
</div>
</body>
</html>
natas12와 똑같은 방법으로 새로운 경로를 생성한다.
다만 에러가 발생했을 때의 처리가 추가된 것과 이미지 파일이 아니면 새로운 링크를 생성하지 않는다는 점이 조금 다르다.
else if(!exif_imagetype()) 때문에 natas13에서는 이미지 파일만 업로드할 수 있다.
natas12처럼 패킷을 조작해 확장자를 바꾸는 방법은 소용이 없다.
다른 방법을 찾아본 결과 파일 시그니처라는 것을 찾을 수 있었다.
파일 시그니처란 파일 고유의 포맷으로 특정 byte로 이루어진 매직넘버이다.
매직넘버를 통해 해당 파일이 어떠한 포맷인지 알 수 있다.
즉 파일 시그니처를 조작하면 natas13을 해결할 수 있을 것 같다. 그런데 txt파일은 파일 시그니처가 없다고 한다.
txt파일을 사용하면 시그니처 조작 없이 이미지 파일 시그니처를 추가해서 해결할 수 있을 것 같다.
php코드 맨앞에 GIF 시그니처를 추가하고 txt파일로 저장했다.

그리고 해당 파일을 선택하고 업로드하기 전 파일의 확장자를 php로 변경했다.

이대로 파일을 업로드하면 다음과 같이 파일 경로이름의 링크가 생성되고, 해당 링크를 클릭하면 작성한 php파일이 실행되면서 natas14의 password를 알아낼 수 있다.

natas14 password는 다음과 같다.

natas14 password: Lg96M10TdfaPyVBkJdjymbllQ5L6qdl1
'Study > Web Hacking' 카테고리의 다른 글
| [XSS Challenge] Stage #12 (0) | 2021.05.23 |
|---|---|
| [LOS] darkelf (0) | 2021.05.23 |
| [natas] Level 11 -> Level 12 (0) | 2021.05.23 |
| [XSS Challenge] Stage #10 (0) | 2021.05.15 |
| [XSS Challenge] Stage #9 (0) | 2021.05.15 |